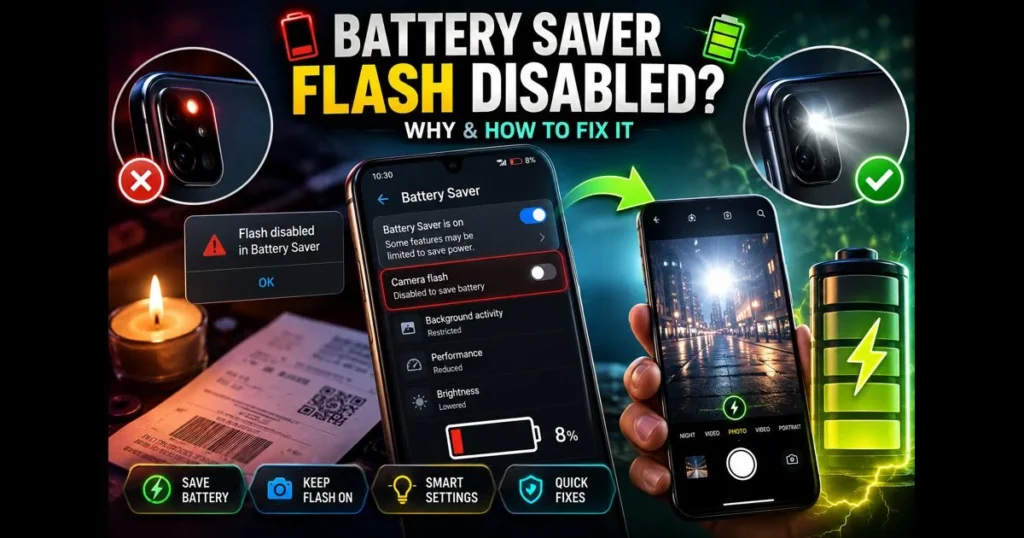
When your phone warns “Battery Saver flash disabled,” it feels like a frustrating choice between power and practicality. That little LED isn’t just a convenience; it can mean the difference between a crisp shot and a blurry guess in low light. As smartphones become more efficient, they aggressively optimize battery life, often throttling or blocking power-hungry features like the camera flash. Understanding this behavior helps you plan ahead, ensuring you capture those crucial moments without scrambling through settings in the dark.
This guide explains the ins and outs of battery saver mode, why flash is often disabled during low charge, and how to quickly restore your light source. You’ll discover step-by-step fixes, smarter settings, and tips that keep your phone alive without sacrificing essential functionality. Whether you’re snapping quick receipts or love nighttime photography, consider this your go-to manual for maintaining light when your battery is running low. Related reading: camera flash not working android.
- 1. Understanding Battery Saver Mode
- 2. The Relationship Between Battery Saver and Flash Functionality
- 3. Common Scenarios for Flash Disabled Low Battery
- 4. Power Saving Flash: How It Works
- 5. Troubleshooting Flash Disabled Issues
- 6. Adjusting Settings to Optimize Flash Usage
- 7. Alternative Solutions for Low Battery Flash Usage
- 8. Conclusion
1. Understanding Battery Saver Mode
Definition of battery saver mode and its purpose
Battery saver, or Low Power Mode on some devices, is a system-level setting designed to extend remaining charge by limiting tasks that quickly drain power. It reduces background syncing, slows the processor, and pauses hardware that requires short bursts of high current. (See: CDC Battery Safety.)
The goal is straightforward: keep your device usable longer. This can mean subtle changes—like less frequent email checks—or strict limits, such as dimming the screen or blocking high-draw components until you recharge. Related reading: allow flash access android.
How battery saver mode affects device performance
You can expect minor trade-offs that accumulate. Apps may load more slowly, background uploads may pause, and navigation might update less frequently. Features that demand peak power—like Bluetooth scanning or the LED flash—are often restricted, particularly as your charge dips into critical levels.
This mode typically works alongside adaptive systems that learn your habits and curb power consumption where they detect waste. While this can be helpful, it surprises many users when a feature they rarely use—like flash—fails to respond when needed.
2. The Relationship Between Battery Saver and Flash Functionality
Why flash is disabled during low battery conditions
The camera flash draws a significant spike of current. When your battery is low, that surge can cause voltage drops, risking a crash or forced shutdown. To protect your phone and preserve the last moments of power, the operating system may disable the flash or display a warning until the charge improves or the device cools.
Thermal limits are also a factor; if your phone is overheated from navigation, gaming, or direct sunlight, the system may block the flash to reduce heat, even if the battery isn’t empty. This is a safety measure, not a glitch.
Impact of flash usage on overall battery life
While a single flash won’t drain your battery, repeated bursts add up, especially when combined with camera processing and screen brightness. Continuous torch mode drains power faster than you might expect, as it keeps the LED on at high intensity. Frequent flash photography can be the difference between getting home with 12% or barely making it with 1%.
3. Common Scenarios for Flash Disabled Low Battery
Examples of situations where users encounter flash issues
Here are some common moments when users encounter the dreaded flash disabled message:
- Trying to capture a receipt in a dim restaurant with only 8% battery left.
- Using the torch to find keys, then switching to the camera; the system blocks the next flash to save power.
- Photographing on a hot summer night: the device is warm and the OS prevents flash until it cools.
- After running battery saver all day, opening a third-party camera app that forces flash; the app can’t override the system limit.
User experiences and complaints about flash functionality
Search forums, and you’ll find posts titled “camera flash not working” that often point to power or thermal issues rather than hardware faults. Many devices also display temporary warnings in the camera app about flash unavailability. Once you plug in or disable battery saver, the flash typically resumes without any repairs needed.
4. Power Saving Flash: How It Works
Overview of power saving features related to flash
Some camera apps and OEM skins offer power-saving flash options. These can do several clever things: lower LED intensity, shorten the flash pulse, switch to a screen-based flash for selfies, or leverage night mode processing before firing the LED. These options help keep the flash available longer and reduce the chance of temporary blocks during low battery or high temperature.
On devices lacking a specific toggle, you may notice behavior that resembles power-saving flash: the phone auto-dims the torch or the camera selects screen flash in selfie mode when battery levels are low.
Benefits of using a power saving flash option
Utilizing a power-saving flash can reduce “feature unavailable” warnings, keep your device cooler, and extend runtime slightly. Your images may be noisier or warmer in color, but you’ll secure a usable shot instead of none. For quick documentation—think package labels or notes—this trade-off is worthwhile.
5. Troubleshooting Flash Disabled Issues
Steps to take when flash is disabled unexpectedly
Note: The following are general tips. Exact menus and behavior vary by device, manufacturer skin, and OS version; if something looks different on your phone, check your device’s support documentation for model-specific steps.
- Charge for a minute or two. A small boost can re-enable the flash.
- Temporarily turn off Battery Saver/Low Power Mode from Quick Settings.
- Allow the phone to cool. Remove the case, find a cooler spot, and give it a moment.
- Force close and reopen the camera app; some apps cache a “no flash” state.
- Toggle the torch: turn it on, then off, and retry the camera flash.
- Restart your phone if the flash remains disabled after charging and cooling.
Common settings to check in battery saver mode
- Battery Saver schedule: if it activates at a high percentage, lower the threshold to interfere less with photos.
- App power control: set your camera app to Unrestricted to prevent aggressive throttling.
- Permissions: ensure your camera app has access to hardware features; allow flash access if prompted.
- Quick toggles: check that the flash icon isn’t set to “off” or “auto” when you need manual control; choose “on” for a test shot.
If you’re on Android and see a prompt to allow flash access, confirm it for your default camera. Users often search for “allow flash access” after encountering confusing permission pop-ups; the intent is to grant the camera complete hardware controls. If you’ve been typing “camera flash not working,” try these steps before assuming hardware issues.
6. Adjusting Settings to Optimize Flash Usage
How to adjust battery saver settings without losing functionality
Two quick changes can make a significant difference. First, switch Battery Saver from “always on” to a lower threshold, or activate it manually when needed. Second, exempt your camera app from strict battery optimization to ensure it launches smoothly and keeps the sensor ready for a quick flash.
On many Android devices, navigate to Settings > Battery > Battery Saver for scheduling, and Settings > Apps > Your Camera > Battery for optimization controls. iPhone users don’t have app-level whitelisting for Low Power Mode, so the practical move is to disable Low Power Mode temporarily for a shot and reactivate it afterward.
Tips for selectively enabling flash features
- Use manual “flash on” only when necessary; keep it on “auto” for most indoor scenes to minimize power spikes.
- Opt for screen flash for selfies when battery is critically low.
- Lower screen brightness while shooting to offset flash draw.
- Close heavy background apps (like video calls) before attempting to enable flash on low battery.
- If available, try a power-saving flash mode to extend LED availability.
7. Alternative Solutions for Low Battery Flash Usage
Apps and tools that help manage flash usage during low battery
Third-party camera apps can provide gentler flash behavior, including shorter pulses and screen-based fills; examples include Google Camera (GCam) on supported Android devices, Open Camera, and, on iOS, Halide or ProCam, which offer more granular control over flash and exposure behavior. A simple “torch” app with adjustable brightness can also be useful; a lower torch setting offers constant light without activating safety limits. For dim environments, a pocket LED key light is a great alternative that doesn’t drain your phone.
Keeping a compact power bank or using reverse charging when available can make a difference. A quick two-minute top-up might be all it takes to restore flash functionality.
Techniques to extend battery life without sacrificing flash
- Activate Airplane Mode briefly if you don’t need data; it conserves power.
- Close incompatible background tasks (AR apps, video streaming) before launching the camera.
- Utilize night mode or HDR when possible; you might not need flash at all.
- Reduce screen refresh rate or resolution if your phone offers quick toggles for it.
- Adopt smartphone battery-saving habits daily: shorter screen timeouts, dark mode, and limiting location access for nonessential apps.
If your device allows granular permissions and prompts you to allow flash access, confirm it so your camera can control the LED. Some models will specifically mention allowing flash access within App Info; mistakenly turning that off can mimic a low-battery block even when you’re fully charged.
8. Conclusion
Battery saver is doing its job when it disables flash: protecting your phone from sudden shutdowns and extending the last few precious percent of charge. But you don’t have to be stuck. With an understanding of why flash gets disabled, a few quick fixes, and smarter defaults—like selective use of power-saving flash, adjusting schedules, and trimming background drain—you can still capture those vital moments while making it to your charger.
Take a moment now to review your Battery settings, set your camera app’s power profile, and practice quickly toggling from Low Power Mode to the camera. The next time you’re in the dark, you’ll be prepared—and have the light you need when it matters most.
Frequently Asked Questions
What does it mean when battery saver flash is disabled?
When the battery saver flash is disabled, it means that the phone or device will not use the flash feature for the camera when the battery saver mode is activated. This can help conserve battery life but may affect photo quality in low-light conditions.
How can I enable the battery saver flash feature?
To enable the battery saver flash feature, go to your device’s settings, navigate to the battery or power management section, and look for the option to enable flash in battery saver mode. The exact steps may vary depending on your device.
Will disabling battery saver flash improve my device’s battery life?
Yes, disabling the battery saver flash can improve your device’s battery life, as it prevents the flash from activating during low-light photography, which can consume additional power. However, this may also limit your ability to take clear photos in darker environments.