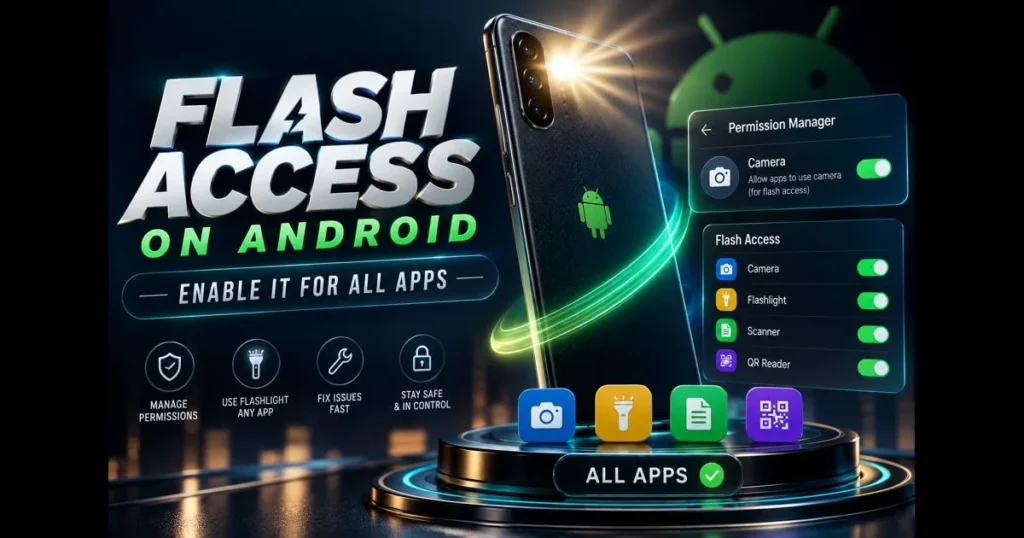
If you take photos at night, scan documents in dim rooms, or need a quick torch, learning how to enable flash access on Android is a worthwhile investment of time. This feature isn’t limited to the stock Camera app; many third-party tools rely on it as well. This guide details how flash access works, how to approve it for various apps, and what to do when the light won’t activate. You’ll discover where flash settings are located on popular Android builds, how to maximize performance, and how to avoid common pitfalls like power-saving modes that disable the LED. Related reading: camera flash not working android.
We’ll cover more than the basics. Expect precise steps for granting camera permissions, practical tips for flashlight access, and a safety checklist for handling permissions. If you’ve ever searched for “camera flash not working on Android,” keep this page handy while you troubleshoot. Let’s ensure your light works reliably. (See: Adobe Flash.)
- Understanding Flash Access on Android
- How to Enable Flash Access for Camera Apps
- Granting Flash Access to Third-Party Apps
- Adjusting Flash Settings in Android
- Managing Android Flash Permissions
- Troubleshooting Flash Access Issues
- Security Considerations for Flash Access
- Future of Flash Access on Android
1. Understanding Flash Access on Android
What is flash access and why it’s important?
Flash access allows an app to control your device’s rear LED, functioning as both a torch and a photo flash. On Android, this capability typically depends on the app having permission to use the camera hardware, as the LED is integrated into that module. Without this approval, a camera app can open but cannot trigger the flash for photos or videos, and a flashlight app won’t be able to switch on the torch.
Why does this matter? The right flash behavior enhances photo quality and saves time. A quick burst of light can fill shadows on a face, while a steady beam helps you find a dropped key. Document scanners rely on even lighting to prevent blurriness. By allowing flash access, you enable this control while still adhering to Android’s permission system.
Common uses of flash in apps (camera, flashlight, etc.)
- Camera: Flash modes such as On, Off, and Auto for photos, as well as continuous light in some video modes.
- Flashlight: One-tap activation, adjustable brightness on select devices, or SOS blinking in specialized utilities.
- Scanning: Document, barcode, and QR scanners utilize the LED to improve recognition.
- Utilities: Strobe effects for cycling or safety (use with caution) and automation apps that trigger the light under specific conditions.
2. How to Enable Flash Access for Camera Apps
Steps to grant camera permission for flash access
Most camera apps request access the first time you open them. If you dismissed the prompt or are setting up later, here’s how to approve it:
- Open Settings.
- Tap Apps (or Apps & notifications).
- Select your Camera app (e.g., Camera, Google Camera, Samsung Camera).
- Tap Permissions and grant Camera access. If there’s a Microphone request for video, that can be decided separately.
- Reopen the app and set flash to Auto or On as needed.
On Samsung phones, you can also adjust settings within the app. Open Camera, tap the flash icon, and choose Auto/On/Off; delve into Pro or Pro Video for additional controls often referred to as samsung flash settings.
Troubleshooting common issues when enabling camera flash
- Low power mode: Many devices restrict the LED when saving battery. If you see messages like “battery saver flash disabled,” turn off Battery Saver/Power Saving and retry.
- Overheating: Phones may throttle flash to protect hardware. Allow the device to cool, then test the torch from Quick Settings.
- Focus conflicts: In dim lighting, the app may use a focus-assist lamp differently from the main flash. Switch to Photo mode, set the flash to On, and test with a still subject.
- Permissions reset: If the app indicates “no access,” revisit its Permissions and ensure Camera access is granted.
- Updates: Install the latest camera app and system updates, then restart the phone.
3. Granting Flash Access to Third-Party Apps
How to allow flash access for specific apps (e.g., flashlight apps)
Flashlight and scanning apps typically rely on the same underlying control as the Camera. To enable flash for these apps:
- Open Settings > Apps.
- Choose the app (e.g., a flashlight or scanning app).
- Tap Permissions and grant Camera access if requested.
- Open the app, toggle the torch, and check that the LED lights up.
If an app claims to work without Camera permission but still won’t light the torch, it may lack the necessary system privileges on your device. Opt for a reputable alternative from a known developer and check recent reviews.
Best practices for managing app permissions on Android
- Grant only what’s necessary: If an app only needs the LED, Camera may be the only relevant toggle. Be cautious if it requests unrelated access.
- Use “Ask every time” where applicable: This maintains tighter control over sensitive access without disrupting core functionality.
- Audit quarterly: Visit Settings > Privacy > Permission Manager (wording may vary) to review which apps use Camera access.
- Prefer built-in tools: The Quick Settings flashlight is quick, ad-free, and doesn’t require separate permissions.
4. Adjusting Flash Settings in Android
Accessing flash settings in your device’s settings menu
There isn’t a universal “Flash” page in Settings for all devices, but you have two reliable locations:
- Quick Settings: Swipe down to reveal the Flashlight tile. Long-pressing it may open more options on some phones.
- Camera app: The flash icon allows you to choose Auto/On/Off; some brands include torch power or red-eye controls within their camera modes.
On Samsung devices, check under Camera’s Pro modes for nuanced light behavior. Users often refer to these as Samsung flash settings, particularly when adjusting flash in conjunction with ISO and shutter speed.
Customizing flash behavior for different apps
Within each app, look for a flash or light control in settings or the main interface. Document scanners may include a small “flash” or “light” button near the shutter. Automation apps might offer routines to activate the torch under specific conditions, like arriving home after dusk. If you can’t find the toggle, check the app’s help section—many developers place flash controls contextually inside specific modes.
5. Managing Android Flash Permissions
Overview of Android flash permission types
There’s no standalone, user-facing “Flash” permission in modern Android. The LED is integrated into the camera module, so the practical gate is the Camera permission. Some system apps and OEM utilities can access the torch without appearing in your permission list, but for third-party apps, granting Camera access is essential for flash functionality.
Flashlight apps request Camera permission because the LED is technically integrated with the camera hardware. Still, be discerning about which apps you trust with that access.
How to check and modify flash permissions for installed apps
- Open Settings > Privacy (or Security & privacy) > Permission Manager.
- Tap Camera to see which apps have access: Allowed, Allowed only while in use, Denied.
- Adjust each app’s setting. If you rarely use an app, set it to Denied or Ask every time.
- Test the app after making changes. For camera or scanner tools, open the app and confirm the flash toggle works as expected.
If you need to allow flash access for a single session—such as in a workplace—use the in-use only option where available.
6. Troubleshooting Flash Access Issues
Common problems with flash access and their solutions
If your camera flash isn’t working, try this quick checklist:
- Test the torch: Use the Quick Settings Flashlight. If it doesn’t activate, you may be facing system, battery, or hardware limits.
- Check Battery/Power Saving: Disable it. Some phones restrict the LED’s brightness or block it entirely—look for “battery saver flash disabled” messages.
- Close other camera apps: Only one app can control the camera at a time; use the recent apps view to manage this.
- Grant Camera permission: Go to Settings > Apps > [App] > Permissions > Camera.
- Reboot the device: This can clear lingering camera service locks.
- Cool the phone: Heat can stop the flash. Remove the case briefly and let it cool down.
- Update the app and system: Install pending updates, then test again.
For Samsung users, explore the Camera app’s flash modes and Pro options. Misconfigured scene modes can disable flash automatically, making it seem broken when it’s just a mode preference buried in Samsung flash settings.
When to reset app permissions and how to do it
If the LED functions in the stock Camera app but not in a specific third-party app, a permissions issue may be the culprit. Resetting app preferences can help:
- Open Settings > Apps.
- Tap the three-dot menu and choose Reset app preferences (wording may vary).
- Confirm. This action resets disabled apps, default apps, and permission restrictions without deleting any data.
- Reopen the problem app and approve Camera access when prompted.
Still stuck? Uninstall and reinstall the app, then test the flash again. If the system torch also fails, contact your device maker’s support for a hardware assessment.
7. Security Considerations for Flash Access
Understanding the security risks of granting flash access
Granting camera access to an untrustworthy app can expose more than just the LED. An app with camera access can sometimes activate the camera stream while the app is running. This is why it’s crucial to consider the security implications of flash access—even for something as simple as a torch utility.
Beyond privacy concerns, some flashlight apps come with intrusive ads or background services that drain battery life. A reputable developer and clear permission requests are essential indicators of safety.
Tips for safely managing permissions on your Android device
- Favor built-in tools: The system Flashlight tile requires no additional installations.
- Choose reputable apps: Look for transparent privacy policies and regular updates.
- Use in-use permissions: Where possible, set Camera to “Allow only while using the app.”
- Review permissions regularly: In Permission Manager, revoke Camera access from apps you no longer use.
- Watch for anomalies: If the torch toggles itself or the camera misbehaves, audit your recent installs.
8. Future of Flash Access on Android
Emerging technologies and their impact on flash usage
As phone cameras improve with better sensors and computational photography, reliance on harsh single-burst light decreases. Night and portrait modes can merge frames to brighten scenes without flattening skin tones. Nevertheless, a controlled LED still proves useful for macro shots, document capture, or quick torch moments when you don’t want to wait for processing.
Expect more granular controls within camera apps—fine-tuned torch settings for video, smarter Auto flash that accounts for skin tones, and scene-aware prompts suggesting when to avoid glare. Automation platforms may also introduce safer, time-limited ways to allow flash access for routines without granting permanent permissions.
Predictions for flash access features in upcoming Android versions
The trend is toward clearer, more specific permissions and better in-context guidance. Anticipate cleaner prompts explaining why Camera access is necessary for flashlight functionality, more granular “while-in-use” options, and power-management features that dim rather than disable the LED during low battery. Device manufacturers may also expand accessibility features utilizing the flash—like alert flashes for notifications—allowing per-app controls to enable flash for trusted apps without granting broad camera access.
For photographers, it’s likely that third-party camera apps will introduce richer flash curves and highlight protection, allowing you to adjust intensity rather than simply choosing Auto/On/Off. This balance—control without complexity—will shape the next wave of flash access developments.
Ready to allow flash access across your device with confidence? Start with Permission Manager, test the Quick Settings Flashlight, and fine-tune each app’s in-app controls. If you encounter issues, this guide’s troubleshooting steps will help illuminate the path forward. Keep permissions minimal, prefer trusted apps, and revisit settings after system updates. For a quick reminder: allow flash access, verify Camera permission, and avoid power-saving modes that silence the LED. Now go light up that shot.
Frequently Asked Questions
How can I enable flashlight access on my Android device?
To let apps control the LED, go to Settings > Apps > [App] > Permissions and allow Camera. Then open the app and toggle its flashlight/torch control. You can also test the LED from Quick Settings by tapping the Flashlight tile. If the toggle is disabled, turn off Battery Saver/Power Saving and try again. Terminology note: legacy web plugin technologies historically called “flash” are obsolete and should be avoided.
Why do flashlight or scanner apps ask for Camera permission?
On Android, the LED is part of the camera hardware. Apps need Camera permission to access and control that light—even if they never capture photos or videos.
What if the flashlight still won’t turn on?
Close other camera apps, cool the device if it’s hot, reboot the phone, and make sure the app and system are updated. If the Quick Settings Flashlight also fails, it may indicate a system restriction or hardware issue—contact your device maker for support.